Redirect to OneDrive for Business with Intune and Group Policy
Group Policy veterans will recall when it was common practice to redirect user files from the Windows known folders (like Desktop, Documents, and Pictures) to a central shared directory on an on-prem server. This allowed for roaming profiles, easier backups, and kept files off client devices. Well, you can also redirect those same files to OneDrive for Business to accommodate real-time collaboration and accessibility, compliance, and control.
If you aren’t currently utilizing OneDrive, you should as it offers a list of great features. First off, it maintains the user familiarity with file locations so folder navigation is the same. Because OneDrive is cloud bases, your users can access their files from anywhere on any device. It also offers file versioning and deleted items capabilities that allows users to perform self-service file recovering. Here I will show you how to redirect the Windows known folders to OneDrive as well as a couple of other tips.
Using Group Policy to Manage OneDrive
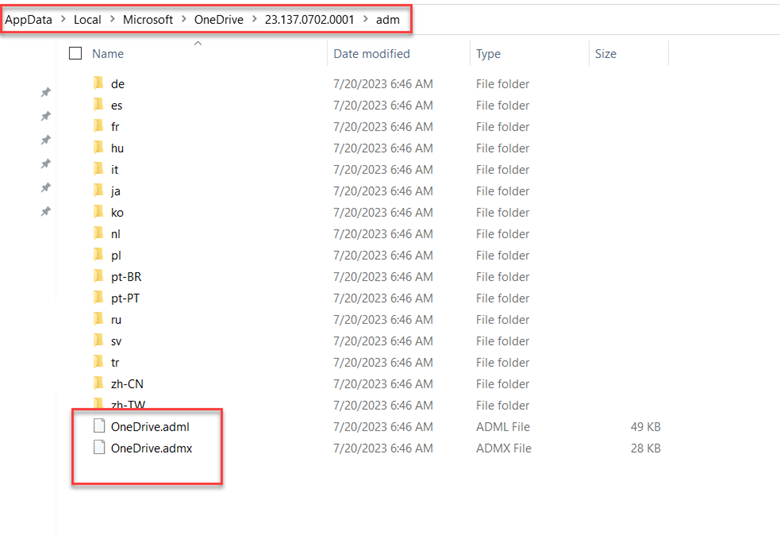
If you have any existing Folder Redirection Group Policies, you will need to disable those before moving forward. Then make sure you have the necessary administrative template files. If you have OneDrive installed on your management machine you can get them using this file path.
%localappdata%\Microsoft\OneDrive\BuildNumber\adm
Which will look something like this in Windows Explorer.
Copy both template files to your central store and then create a GPO. In the Group Policy Management Editor, go to Computer Configuration > Administrative Templates > OneDrive. If you don’t see OneDrive, then you are missing the template files. The screenshot below shows the available settings.
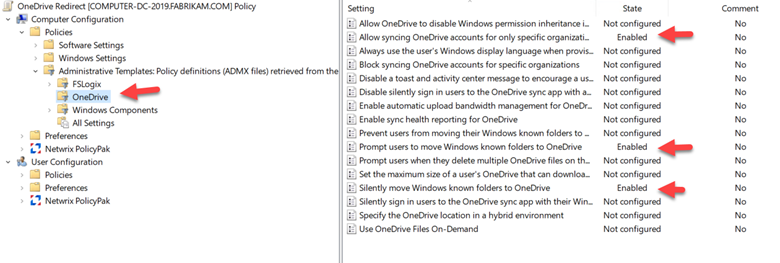
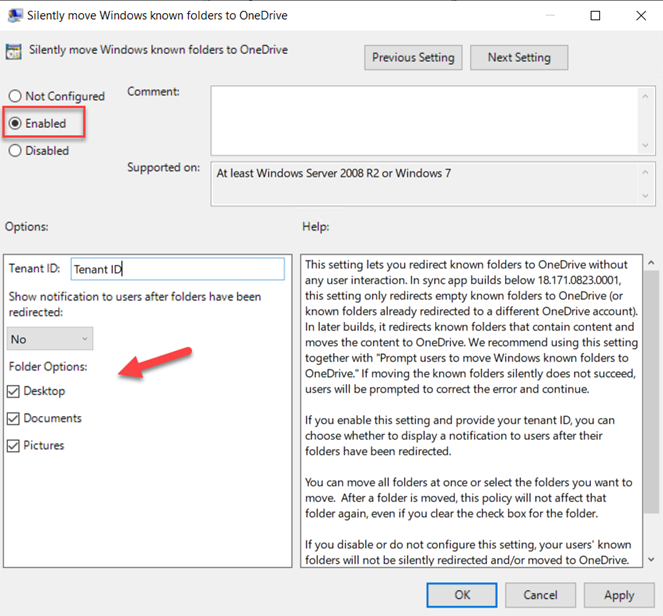
To redirect files from the Windows Known folders, enable the “Silently move Windows known folders to OneDrive” and provide the Tenant ID for your enterprise. By default, all three known folders are selected but you can choose to only redirect specific ones as shown in the screenshot below.
Before implementing this, you may want to alert users of your intention for them to transition to OneDrive for Business by enabling the “Prompt user to move Windows Known folders to OneDrive.” Once enabled, your tenant users that sync their OneDrive will see a popup message that reads “Your IT department wants you to protect your important folders" the next time they sign in. A reminder notification will then appear in the activity center until all three known folders are moved.
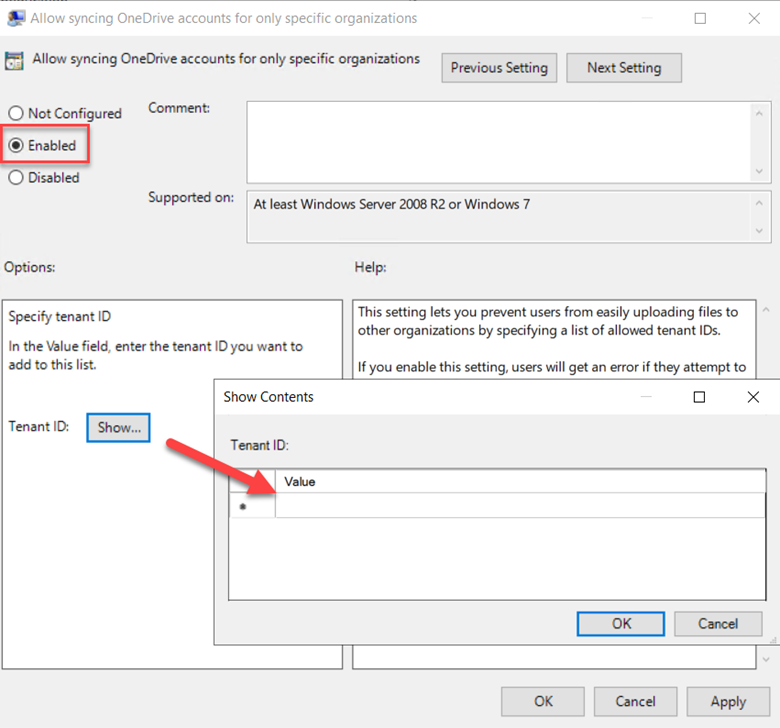
Users also may have more than one OneDrive account so you may want to prevent them from uploading files to other organizations. You can do this by enabling the “Allow syncing OneDrive accounts to only specific organizations” and then list the allowed tenant IDs as is shown below.
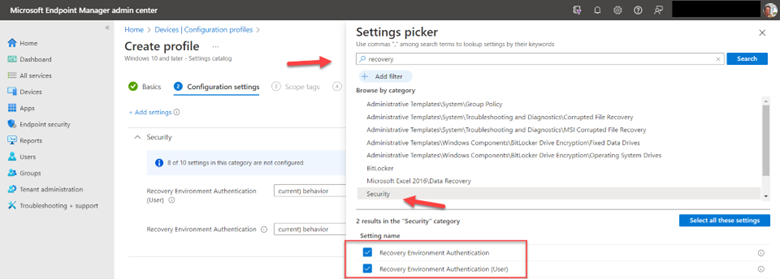
Using Intune to Redirect Known Folders to Intune
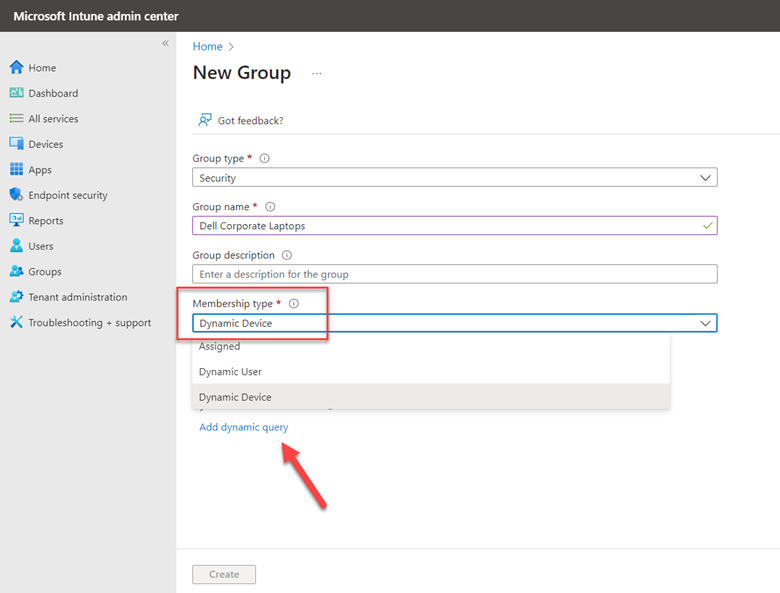
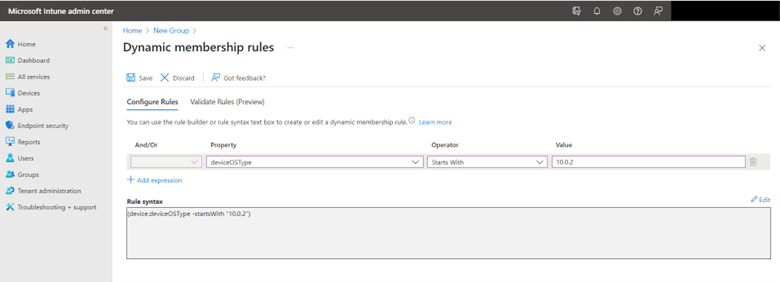
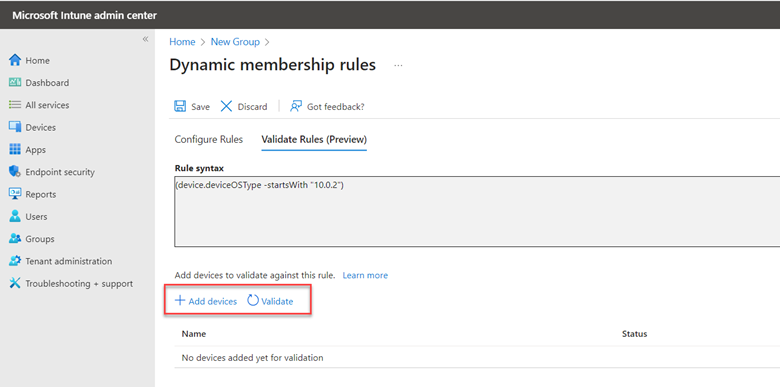
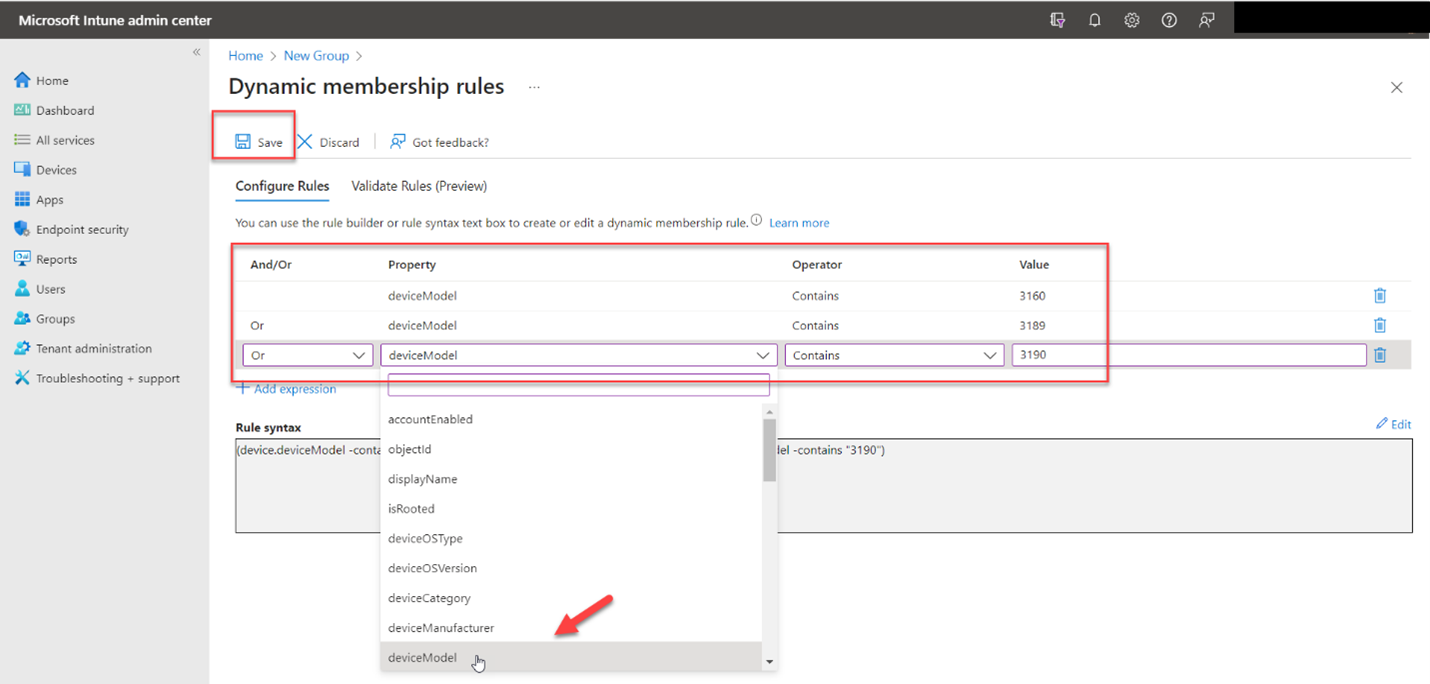
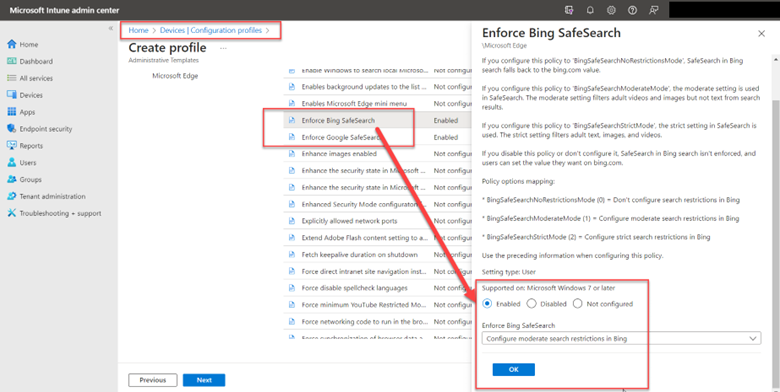
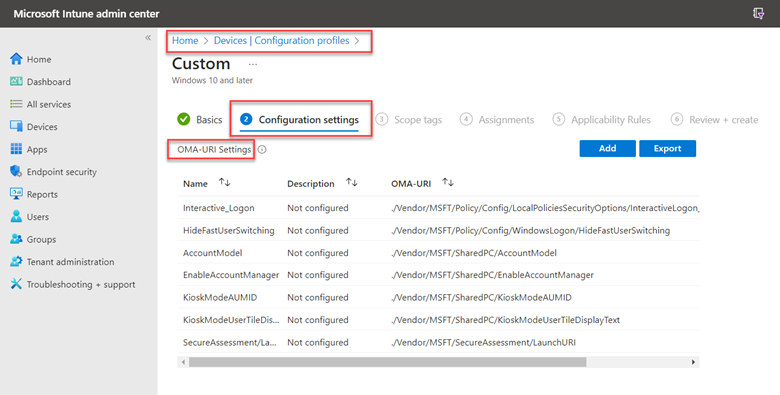
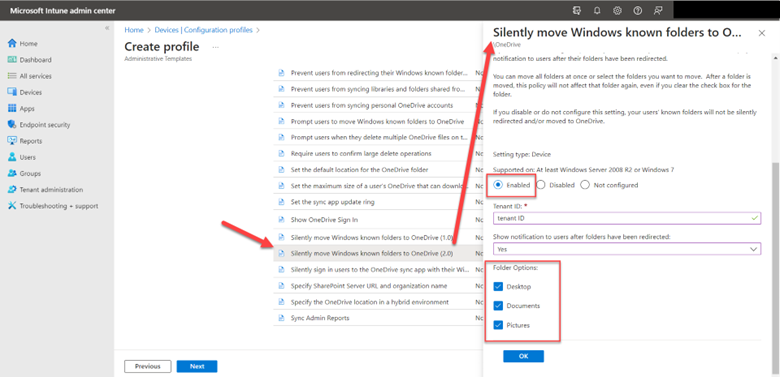
Let’s do the same thing using Intune now. Using the Microsoft Intune Admin Center, navigate to Devices > Configuration profile > Create profile and select Windows 10 and later as the Platform and Administrative templates as the Profile type. Give a name to the profile and go to Computer Configuration > OneDrive and enable the “Silently move Windows known folders to OneDrive” setting as shown in the screenshot below.
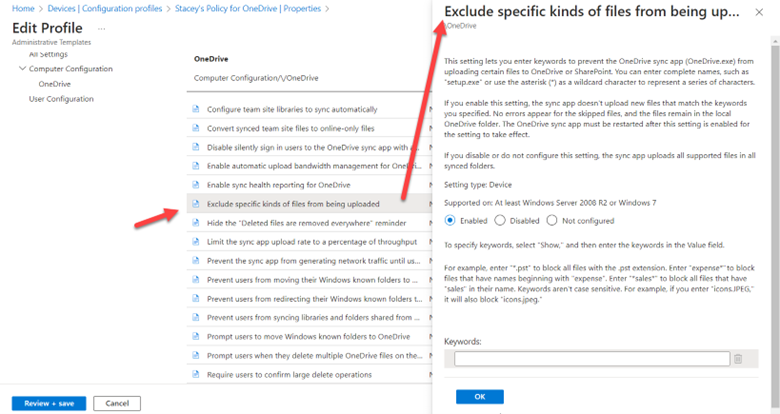
To discourage users from uploading excessively large files or questionable file types, you can enable “Exclude specific kinds of files from being uploaded” and input keywords for the designated file types as shown below.