How to Enable Alternative Authentication Methods using Group Policy and Intune
We know the vulnerabilities of passwords today. User accounts are constantly under siege by credential stuffing attacks and malicious code and tools like key loggers that aim to capture passwords as users type them in. That’s why it is essential to support password authentication with some type of multifactor authentication such as a text messaging, authenticator apps or FIDO keys.
For Windows 10 and Windows 11, there are alternative sign-in methods available. For instance, biometric logons might be a good choice for those users that have laptops with built-in fingerprint sensors. Picture passwords may appeal to some organizations as an alternative. The Windows picture password sign-in requires a user to duplicate several gestures on a selected picture. Then again, those organizations that want to enforce standard desktop for all users may not want this option to be available. For users that always log onto the same computer, a PIN may be lucrative as a PIN is local to a specific device so a compromised pin is only good for its assigned device.
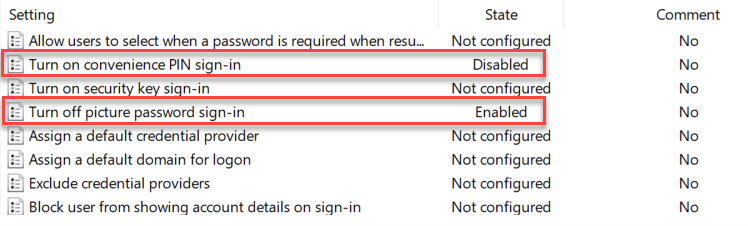
The point of this blog is just to show you how to enable/disable these alternatives using Group Policy or Intune. Let’s start with picture passwords. If you want to disable this option using Group Policy, create a GPO and go to Computer Configuration > Administrative Templates > System > Logon and enable “Turn off picture password sign-in” as shown below. The PIN setting is in the same location. In the screenshot below, I have disabled both options.
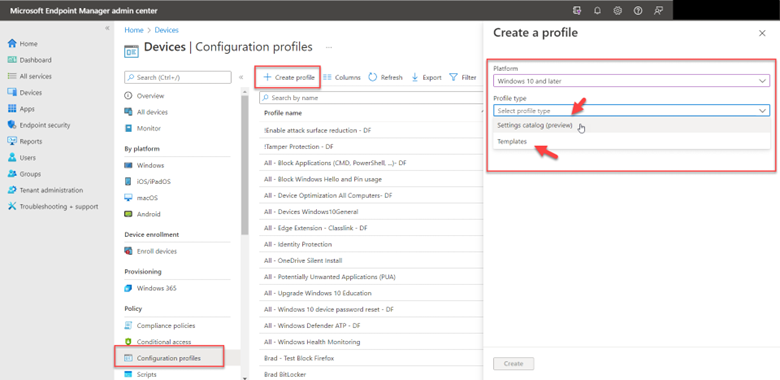
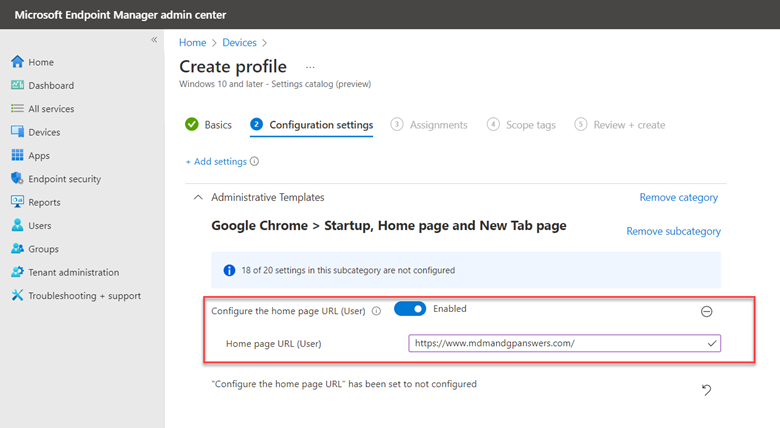
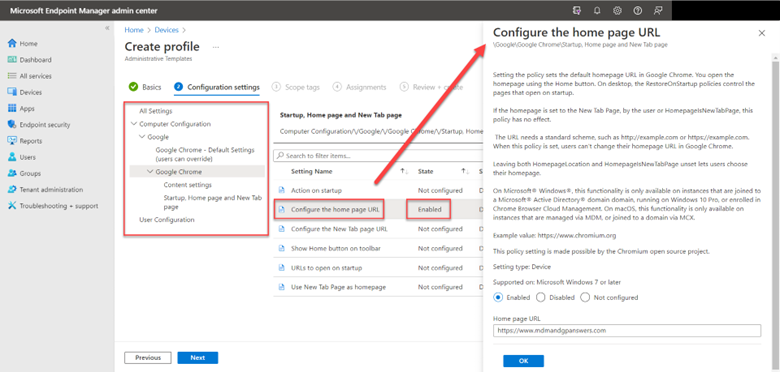
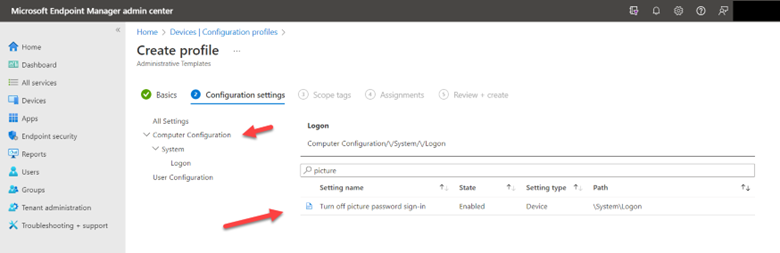
You use the same Administrative Template path in for Intune as well. Create a configuration profile and select Windows 10 and later as the platform and Templates > Administrative templates as the profile. Then navigate to Computer Configuration > Administrative Templates > System > and enable Turn off picture password sign-in as shown in the screenshot below. Once again, the PIN setting is there as well.
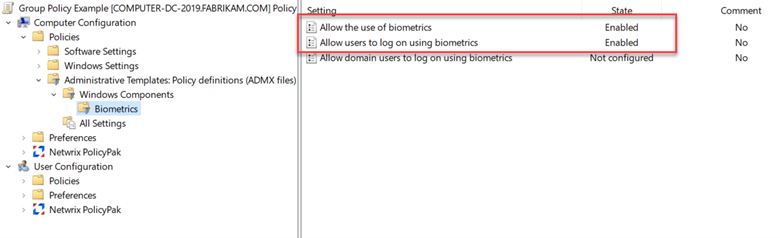
For fingerprint scanning or other biometric authentication options, create a GPO and go to Computer Configuration > Windows Components > Biometrics and select “Allow the use of biometrics” and “Allow users to log on using biometrics.” In the screenshot below I have enabled both of these.
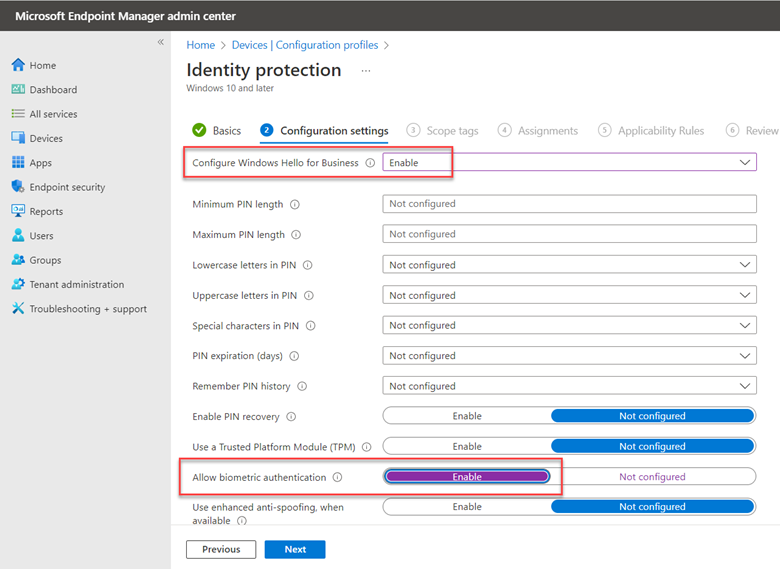
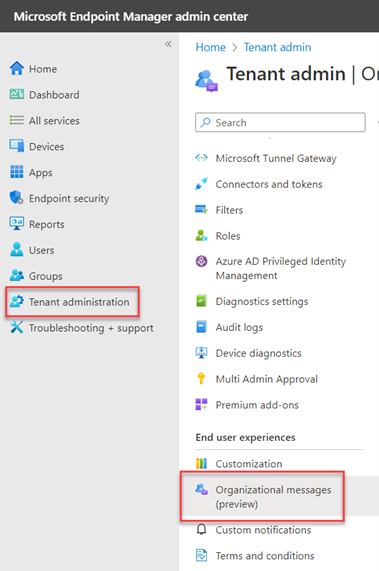
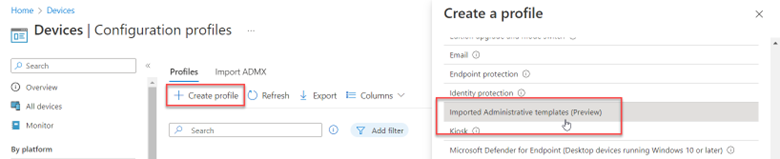
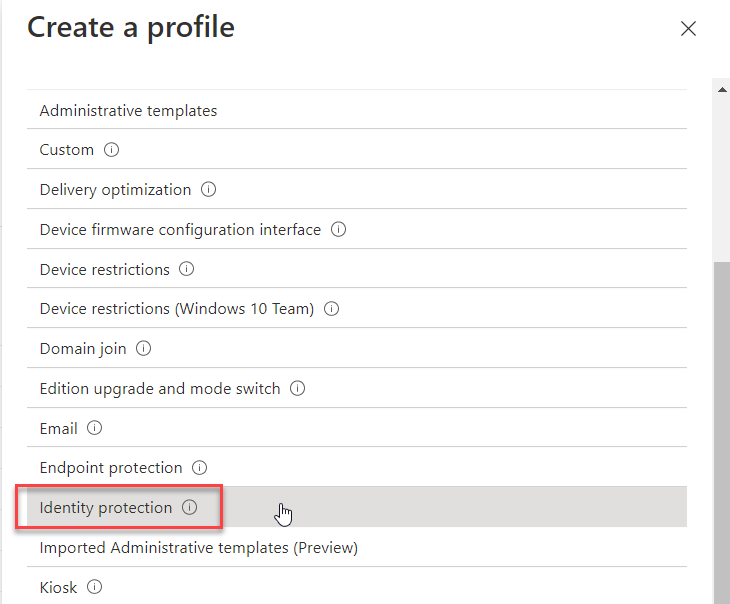
To manage biometric settings using Intune, create a configuration profile and select Windows 10 and later as the platform and Templates > Identity protection as shown below.
After naming the profile, go an enable “Configure Windows Hello for Business. This will then provide access to all of its category settings. Then select, “Allow biometric authentication” with the result looking like the screenshot below.