

How to Setup Printing in the Cloud Using Universal Print (Part 2)
In my previous article I outlined the prerequisites for Universal Print, a Microsoft 365 subscription-based service that you can use to centrally mange your printers using Azure. As mentioned, most printers require the Universal Print Connector to be registered in Azure for universal printing. You can download the UP Connector here.
The prerequisites for the UP Connector are shown below.
- You can install it on Windows Server 2016 64-bit but Windows Server 2019 is recommended.
- You may also install it on Windows 10 64-bit Pro or Enterprise, version 1809 or later.
- The host computer will also need .NET Framework 4.7.2 or later.
- The host computer should have a permanent internet connection and have sleep/hibernate disabled
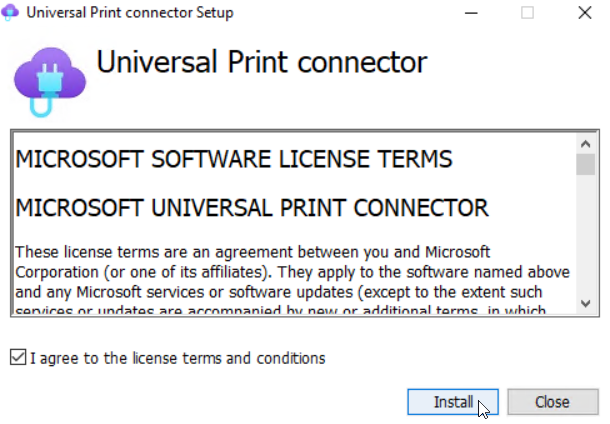
Once downloaded, simply run the installer
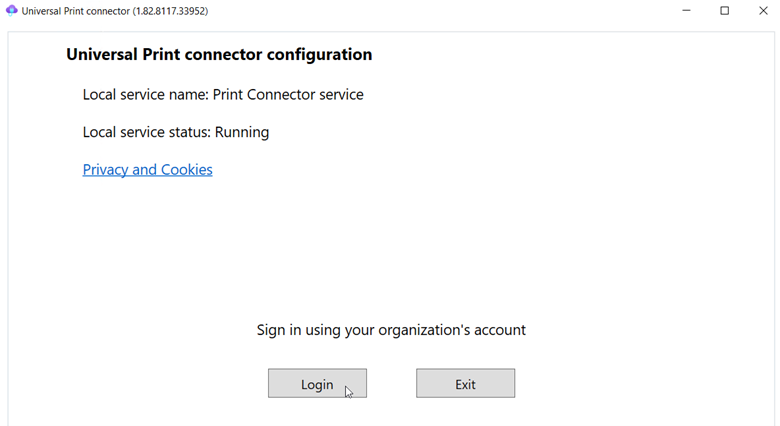
Once installed you will see the screen below. Here will need to sign onto your Azure portal using an Azure AD account that is assigned to the Printer Administrator role.
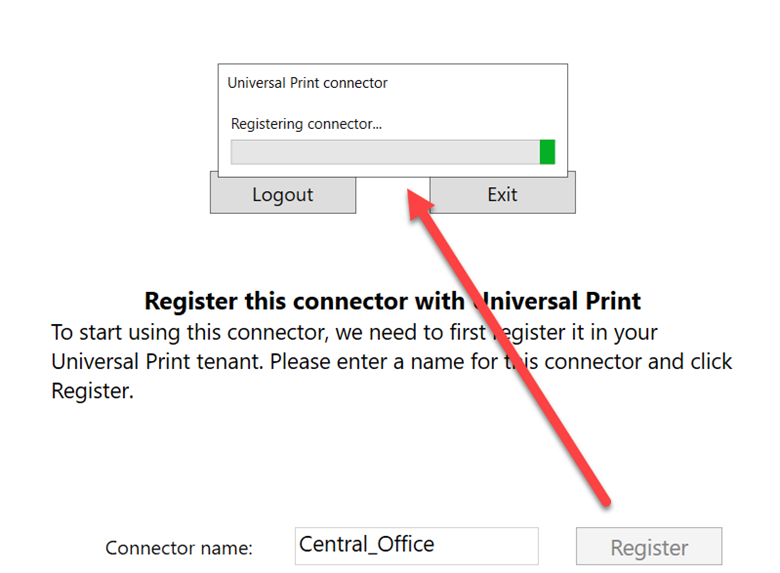
Once you are signed in, you will need to create a Connector Name as shown in the screenshot below. This could be the name of a building, a department, a site, or just about anything that has significance within your organization.

In this example I chose Central_Office. You will then register the Connector name.
Once registered, you will be able to see the connector in your Azure Universal Printer portal. If you can’t readily find the UP portal in Azure, you can do a search for “Universal Print” to navigate to it as shown below.
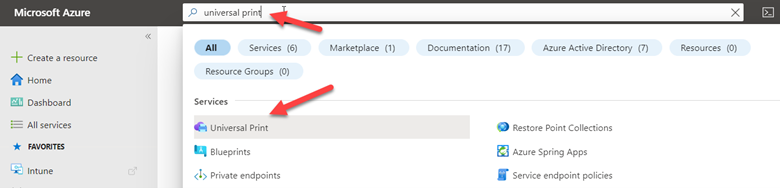
Then click connectors to see your newly registered connector.

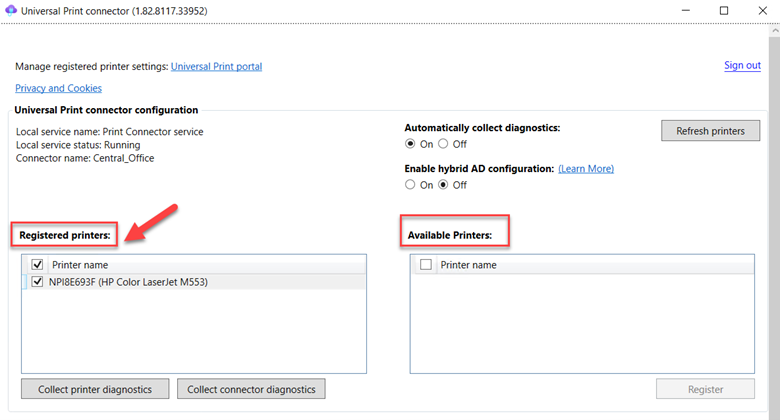
Now it’s time to register for the printers. You need to install the printers onto the computer hosting your connector. These printers will then be shown as available printers within the UP Connector admin console. Select the printer or printers you want from the list and click register. The printer(s) will now move to the registered printer list as shown below. The printer is now registered in Azure.
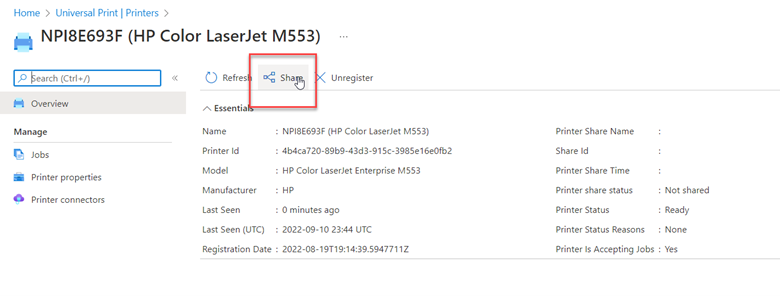
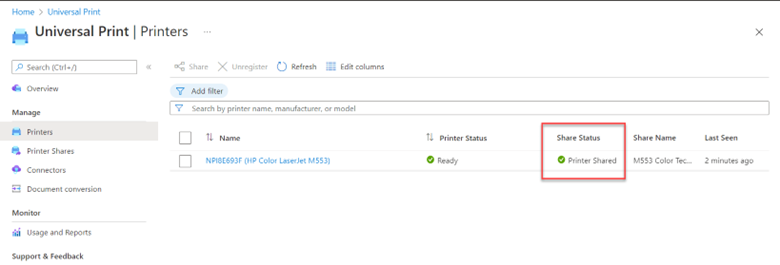
Now we need to share the printer. Go to the Universal Print Portal and you will see that your printer is registered and ready but not shared.

To share, select the printer’s checkbox and click Share as shown below.
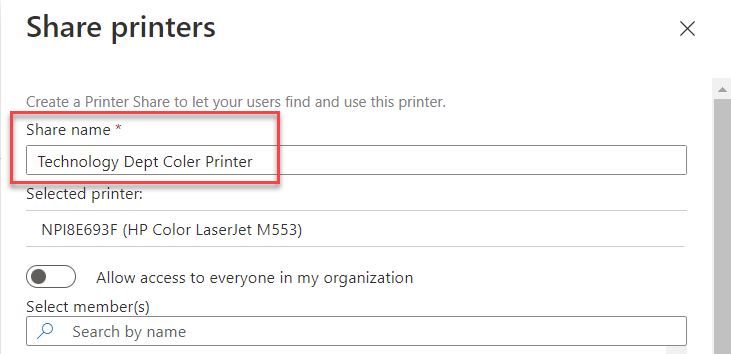
Now you will give the printer a share name and select the groups or users that can access the share as shown below.
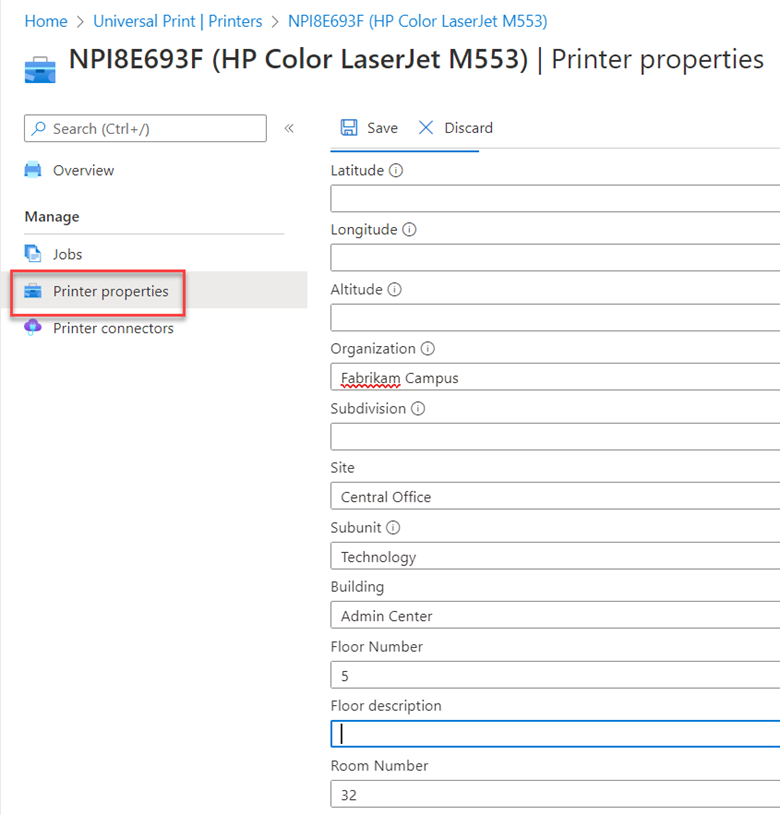
You can then select Printer properties and provide descriptors so that users know where the printer is located within your enterprise. This allows them to search for printers according to location. I have filled out some of the properties in the screenshot below.
Now the printer is shared and ready and will show all green as shown in the screenshot below.
Registering Universal Printers Directly
Printers that natively support Universal Print can be registered with Azure without going through the UP Connector. Simply access the printer’s admin console through a web browser. Every vendor’s admin portal is different but essentially you will need to name the printer and configure its network properties so it can access the Internet. Usually in the advanced settings, there will be a way to register the printer. The registration process will require you to logon to Azure with the proper credentials. The printer will then be registered and assigned a registration code. Once registered, you will then log onto Azure in the same manner I did earlier and share the printer.
Next: Creating Intune Policies
In our third and final segment on Universal Print, we will review the process of installing registered universal printers on computers across the network.

Comments (0)